Creating a Data Catalog
Creating a Data Catalog
-
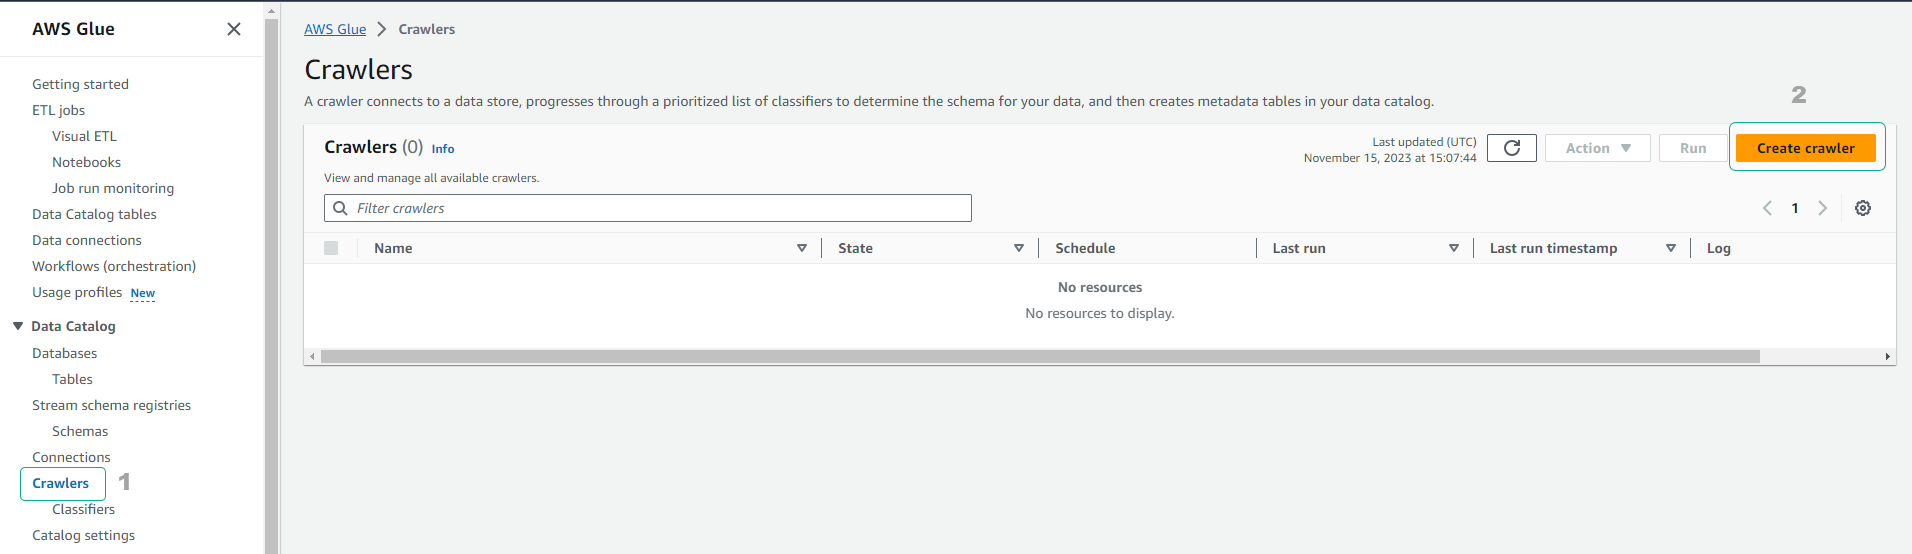
Access the AWS Glue Service
- Click Crawlers.
- Click Add crawler.
-
On the Add information about your crawler page.
- Set the Crawler name to yourname-datalake-crawler.
- Click Next.
-
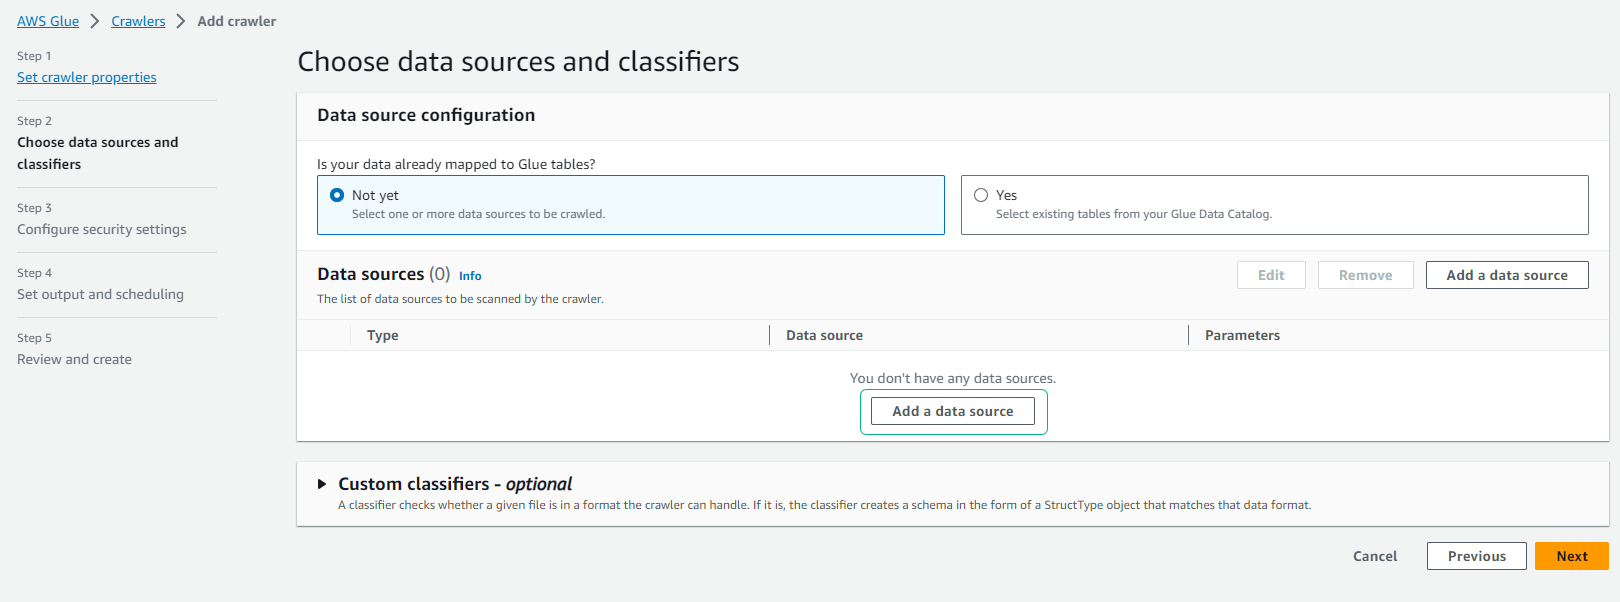
On the Specify crawler source type page.
- Keep the default option selected.
- Click Next.
-
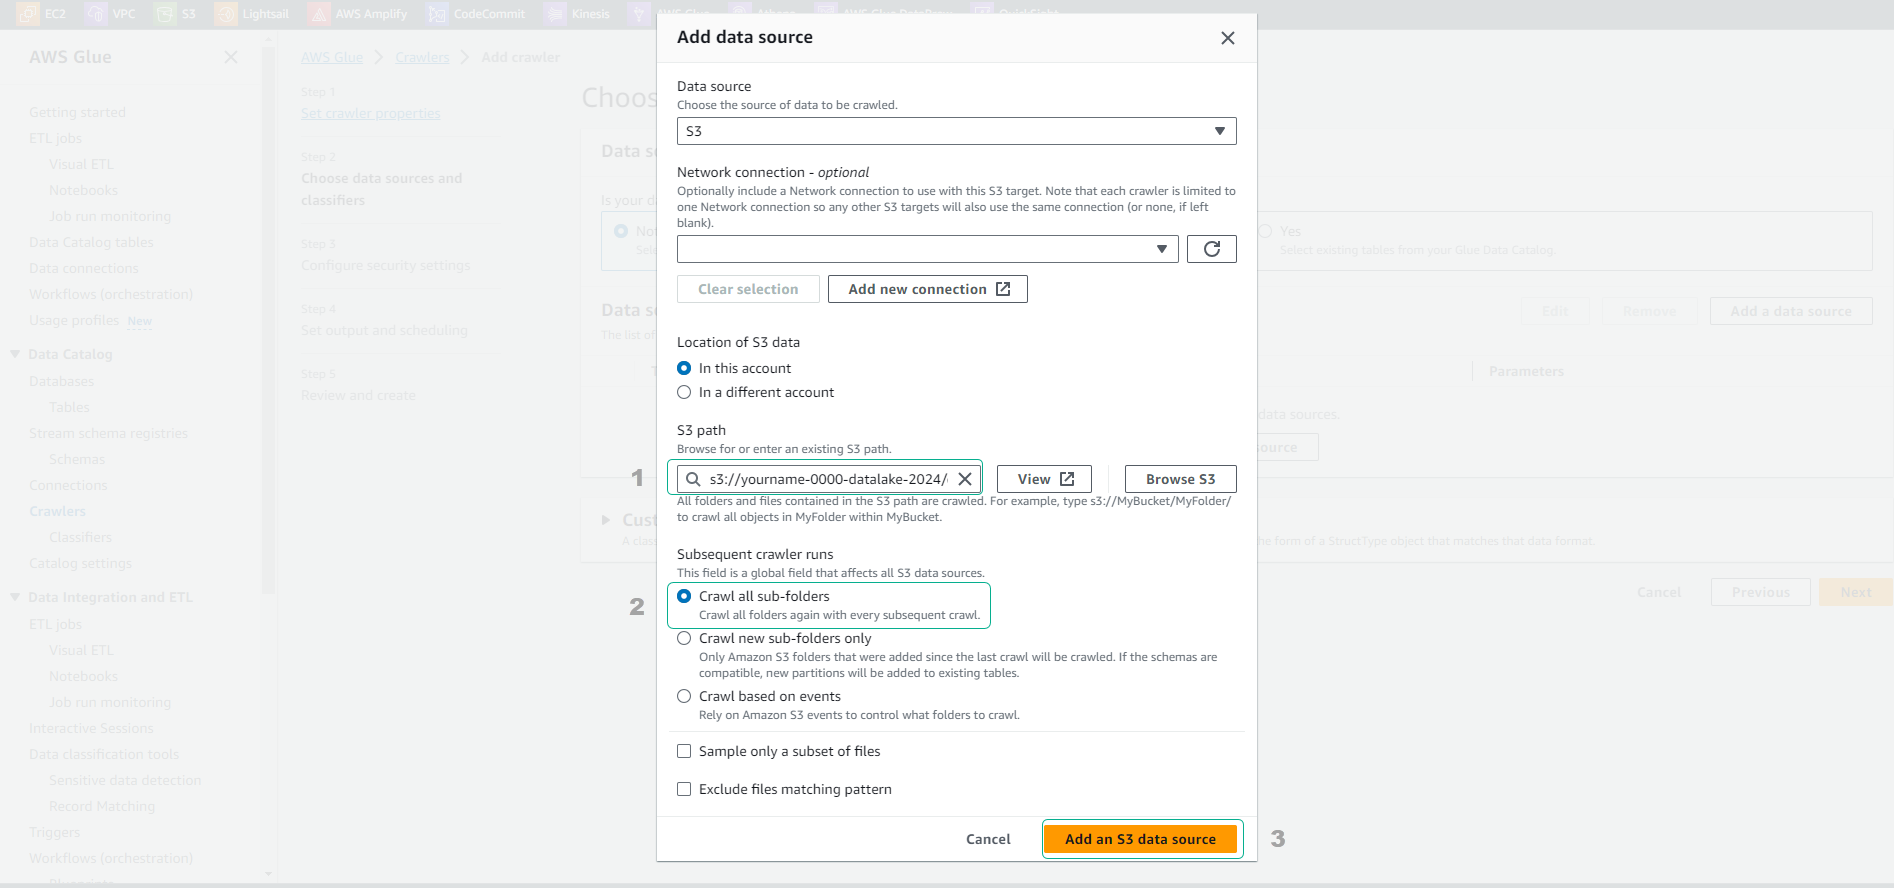
On the Add a data store page.
- Keep the S3 option selected in Choose a data store.
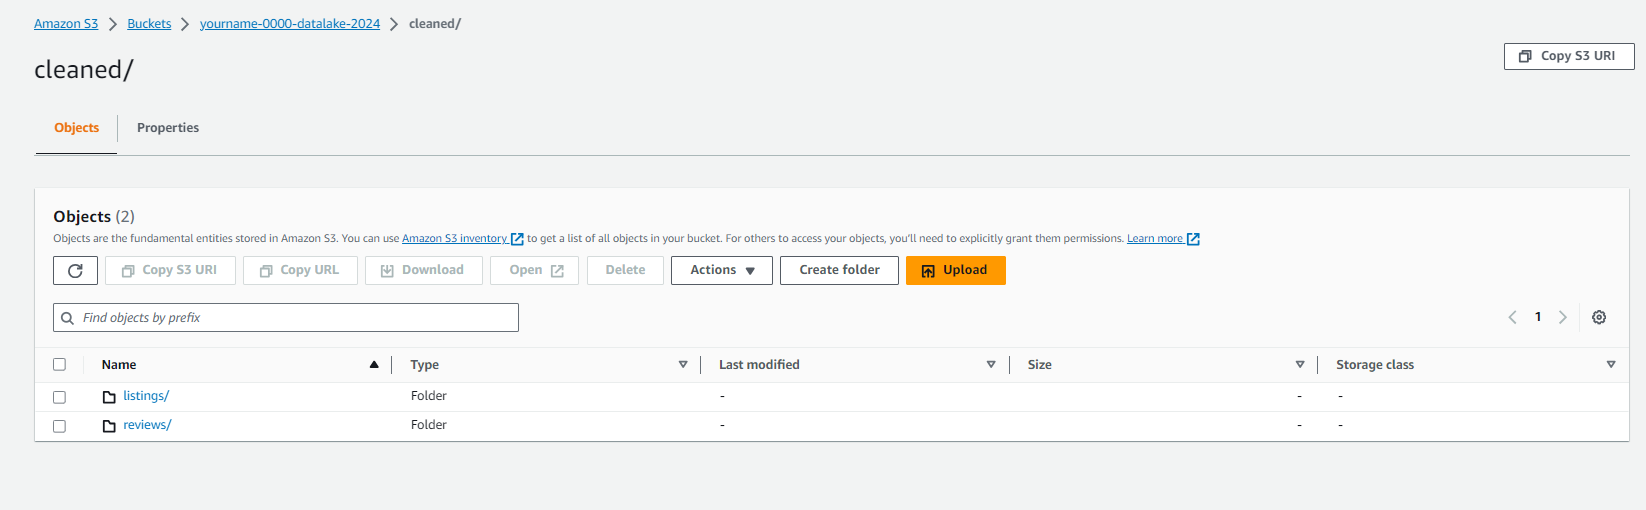
- In the Include path, enter the path to the cleaned dataset uploaded to S3.
- For example: s3://yourname-0000-datalake/cleaned/
- Click Next.
-
On the Add another data store page.
- Keep the No option selected.
- Click Next.
-
On the Choose an IAM role page.
- Click to choose Choose an existing IAM role.
- In the IAM Role section, select the role AWSGlueServiceRole-yourname-datalake.
- Click Next.
-
On the Create a schedule for this crawler page.
- Keep the Run on demand option selected.
- Click Next.
-
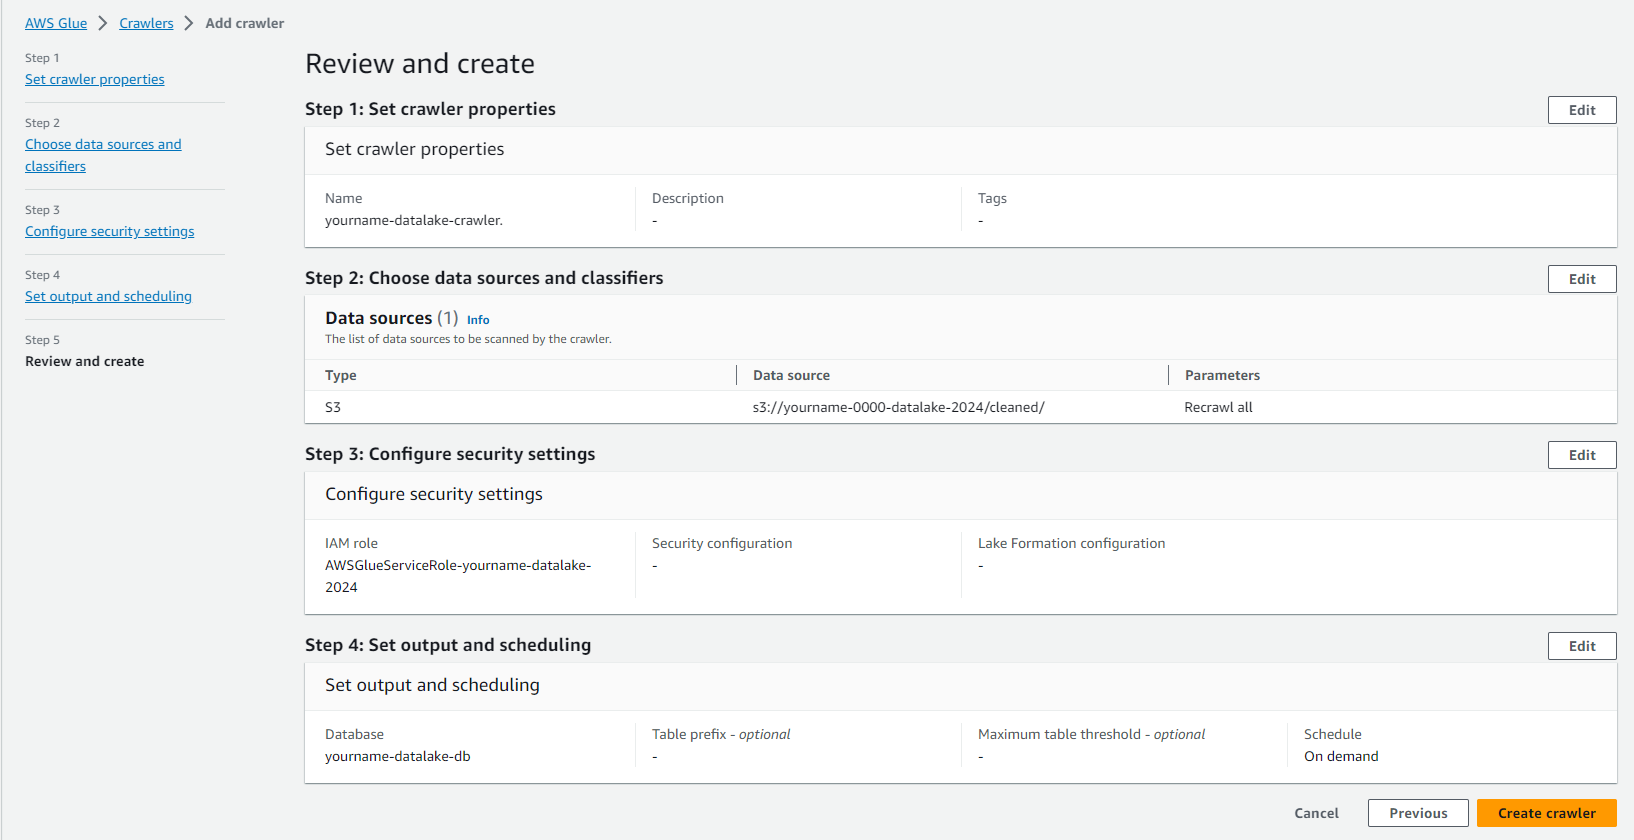
On the Configure the crawler’s output page.
- Click Add database.
- Enter the Database name as yourname-datalake-db.
- Click Create.
- Click Next.
- Click Finish to proceed with creating the Crawler.
-
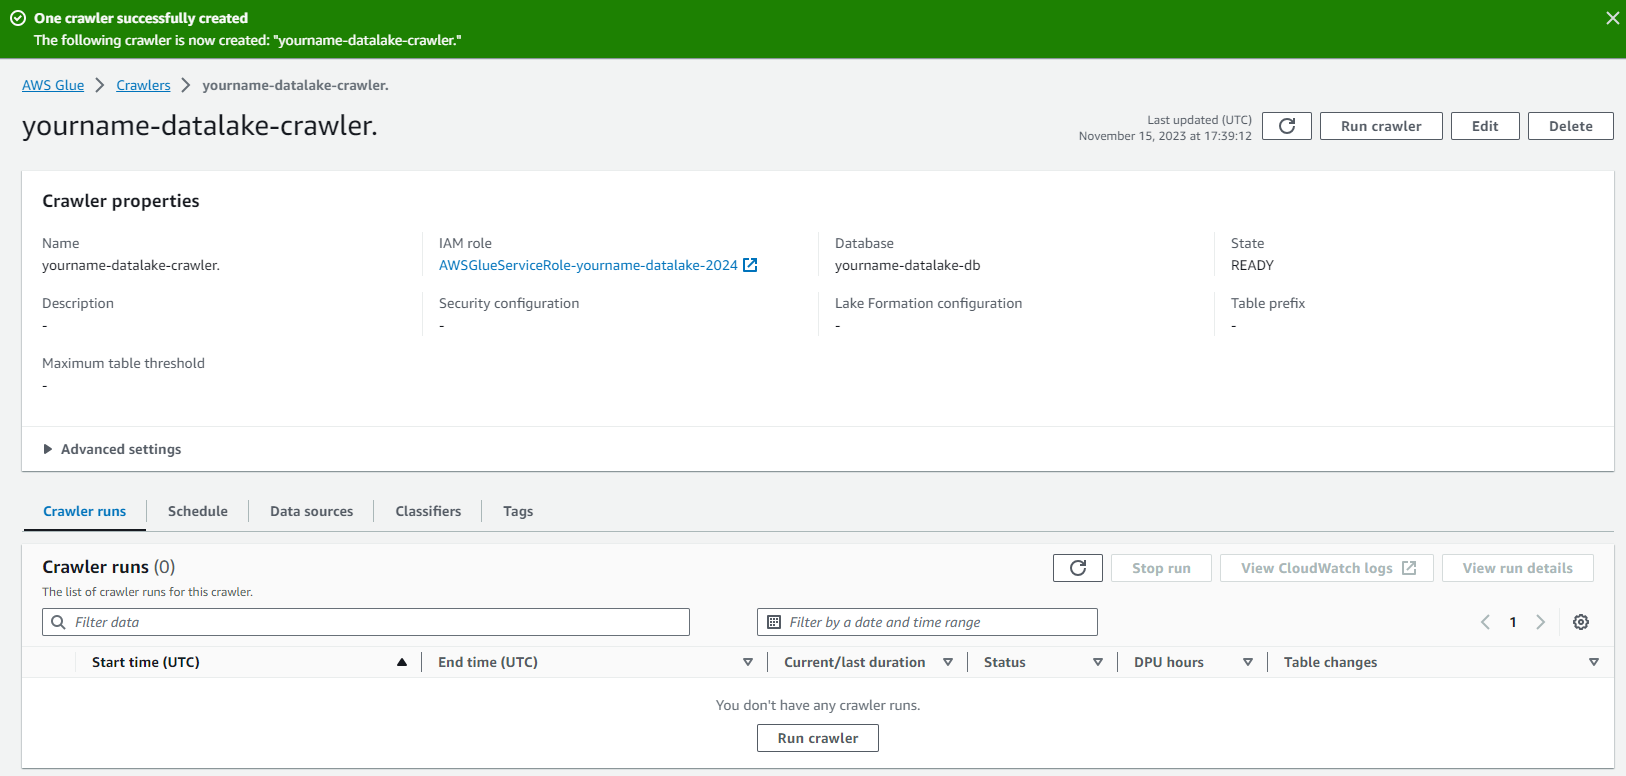
Click and select yourname-datalake-crawler.
- Click Run crawler.
- Check if the Crawler runs successfully as shown in the image below.
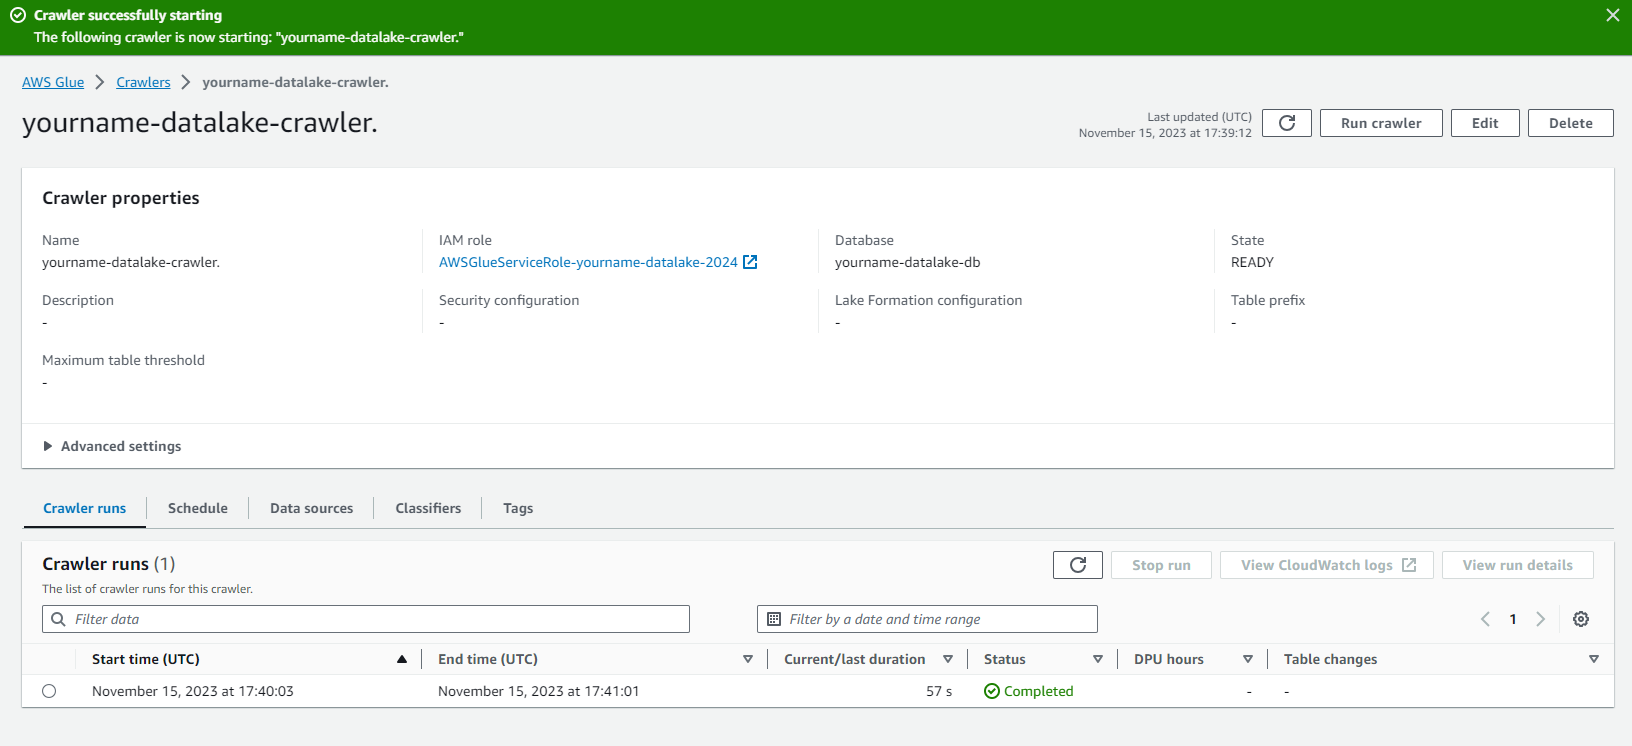
At this step, we have created a Crawler job to explore the data and save metadata information into the Glue data catalog. In the next step, we will create a job to convert our data from CSV to Parquet format.