Setting up DataBrew
Setting up DataBrew
In this step, we will configure the AWS Glue DataBrew project, which is an interactive workspace that supports data preparation. In this step, we will create:
- Dataset.
- Recipe: a set of actions on the data that DataBrew will execute. The Recipe will be divided into steps, and each step may include multiple actions. In this step, we only create steps without adding specific actions, we will add specific actions in the next part.
-
Access the Cloud9 interface.
-
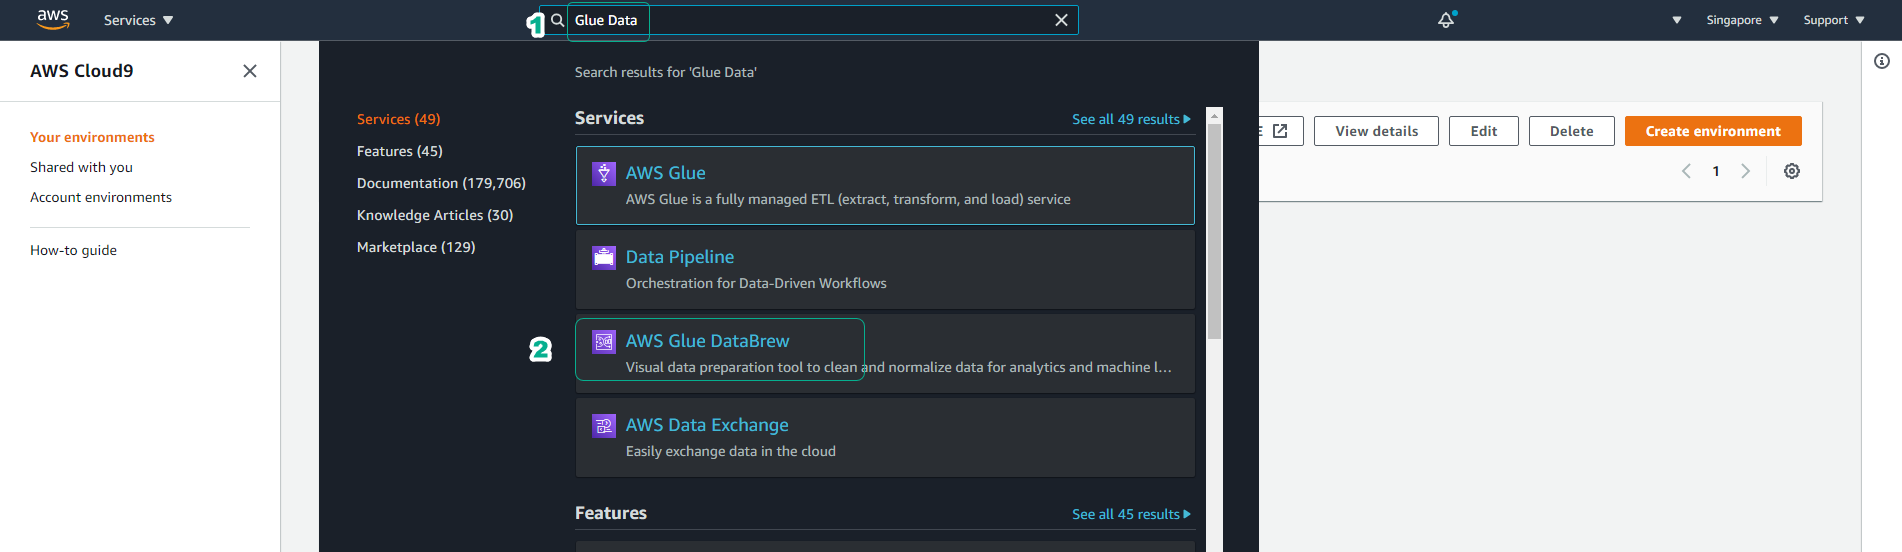
Type Glue Data in the search bar, then click AWS Glue DataBrew to access the Glue DataBrew service interface.
-
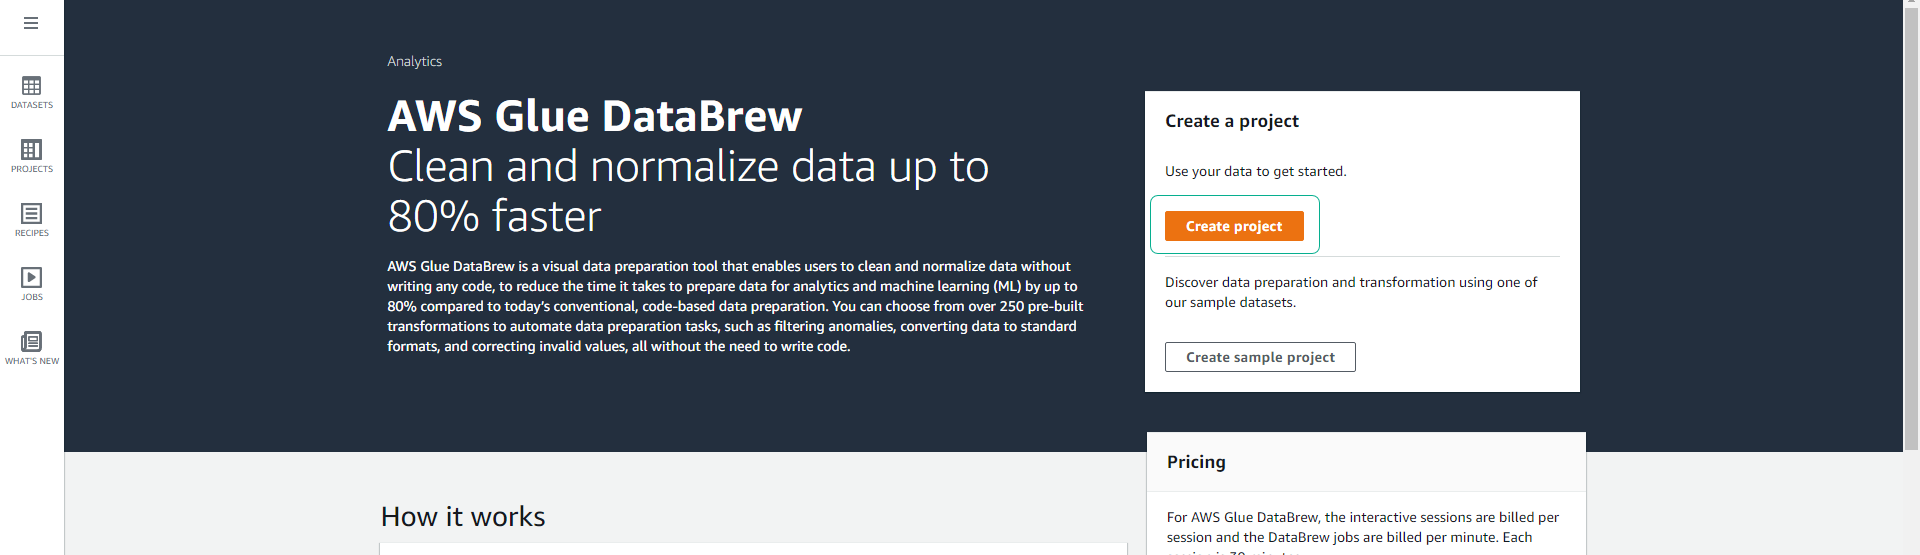
At the Glue DataBrew service interface, click Create project.
-
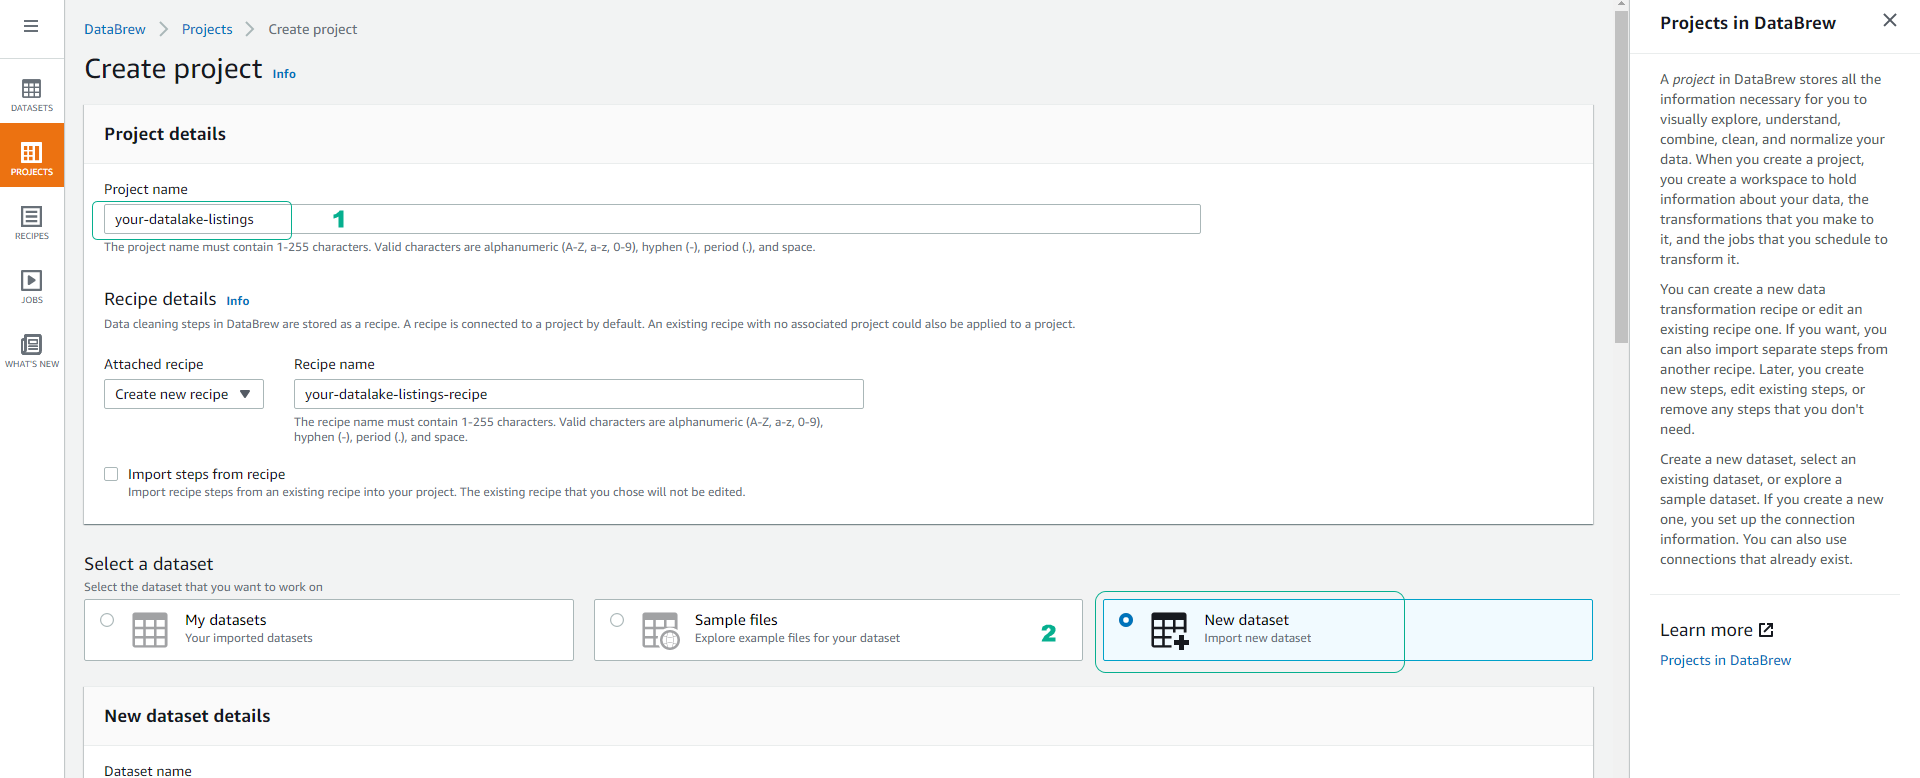
Name the project your-datalake-listings.
- You will see the Recipe part is selected by default Create new recipe with the recipe name set automatically according to the project name as your-datalake-listings-recipe.
- Click to choose New dataset.
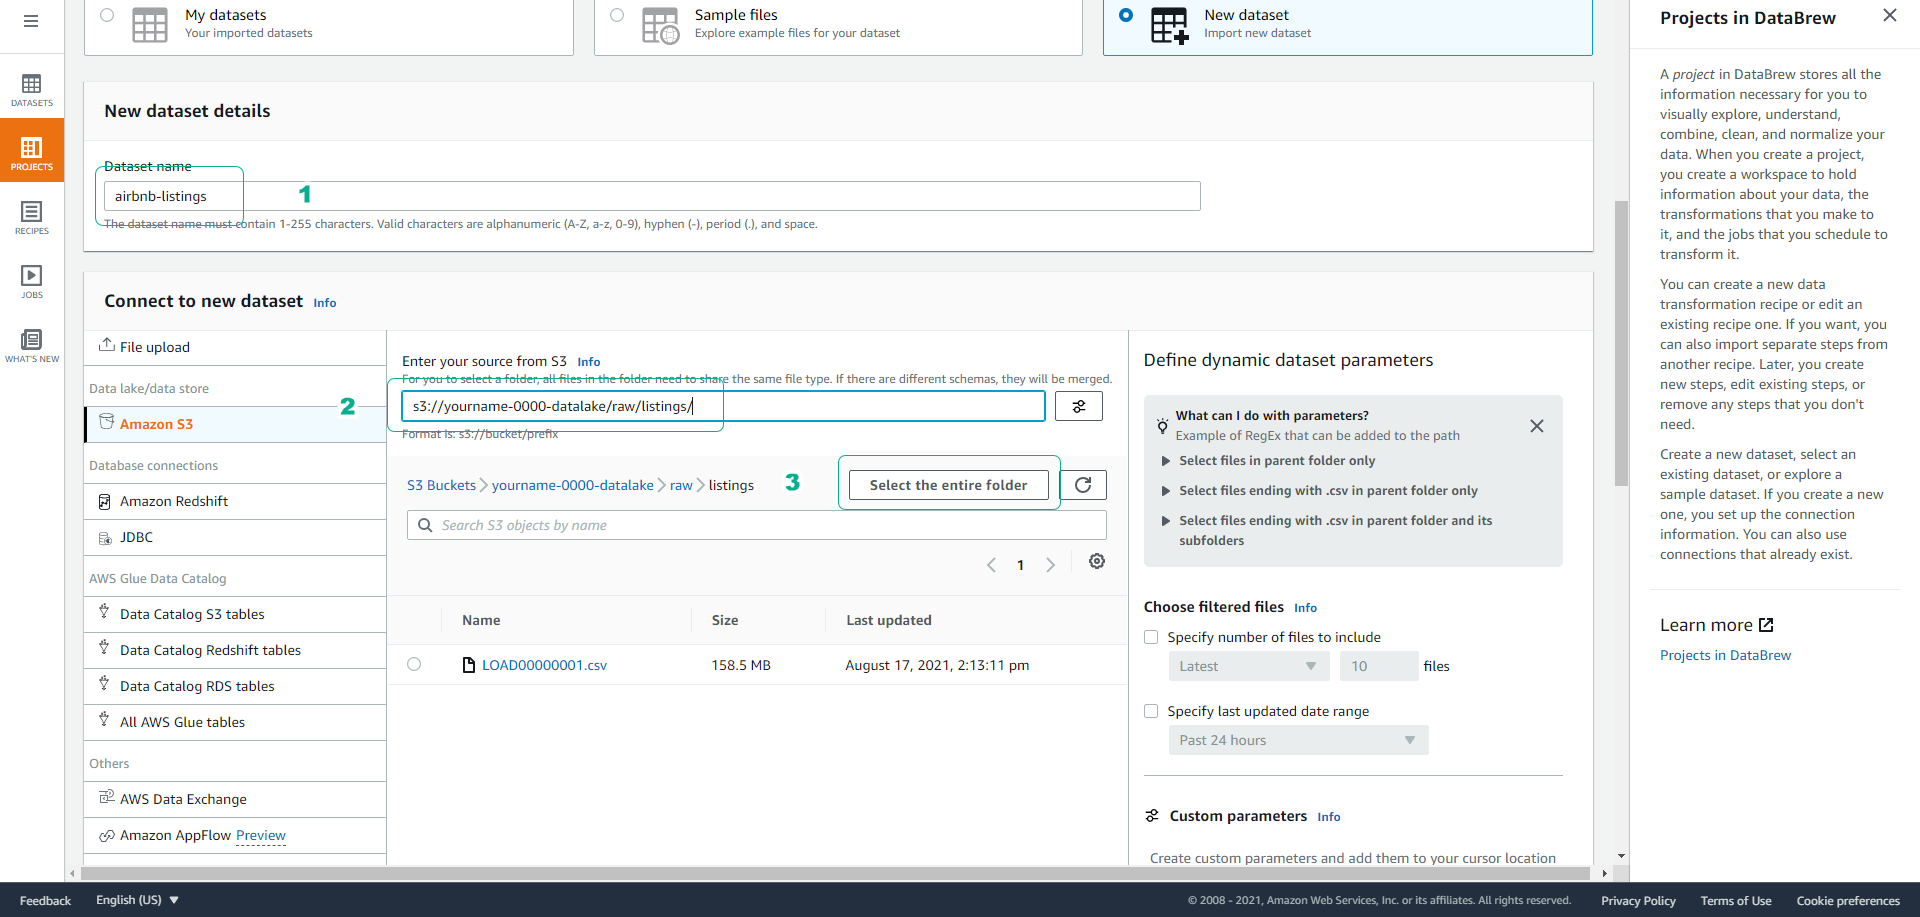
- Scroll down the screen, name the Dataset as airbnb listings.
- At the path to the S3 bucket, choose the path to the listings folder you uploaded.
- Example: s3://yourname-0000-datalake/raw/listings/
- Click Select the entire folder.
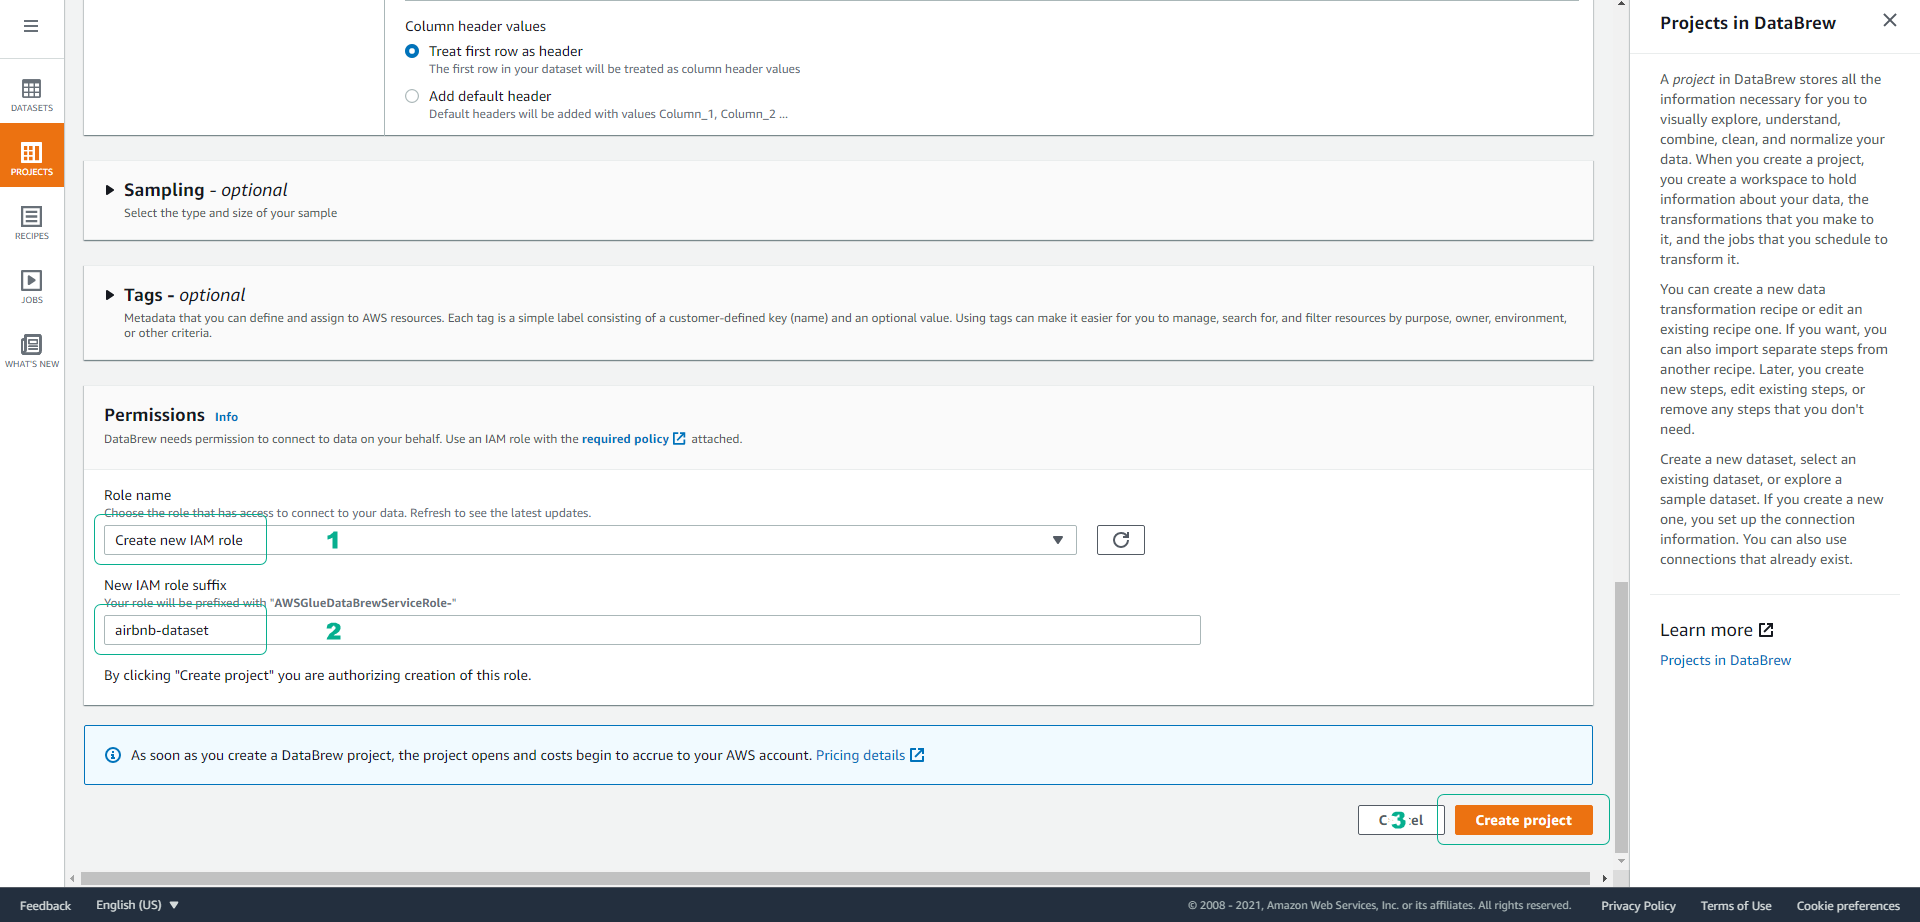
- Depending on your data, you will choose the format, delimiter, and whether the data includes column names in the first row.
- For the Dataset attached to this workshop (airbnb listings), we will choose the default options as follows:

- Scroll down the screen, at the Permissions section.
- Click to choose Create new IAM role.
- Set the suffix for the role as airbnb-dataset.
- Click Skip at the feature introduction interface of DataBrew.
- Wait a few minutes for your session to be initialized.
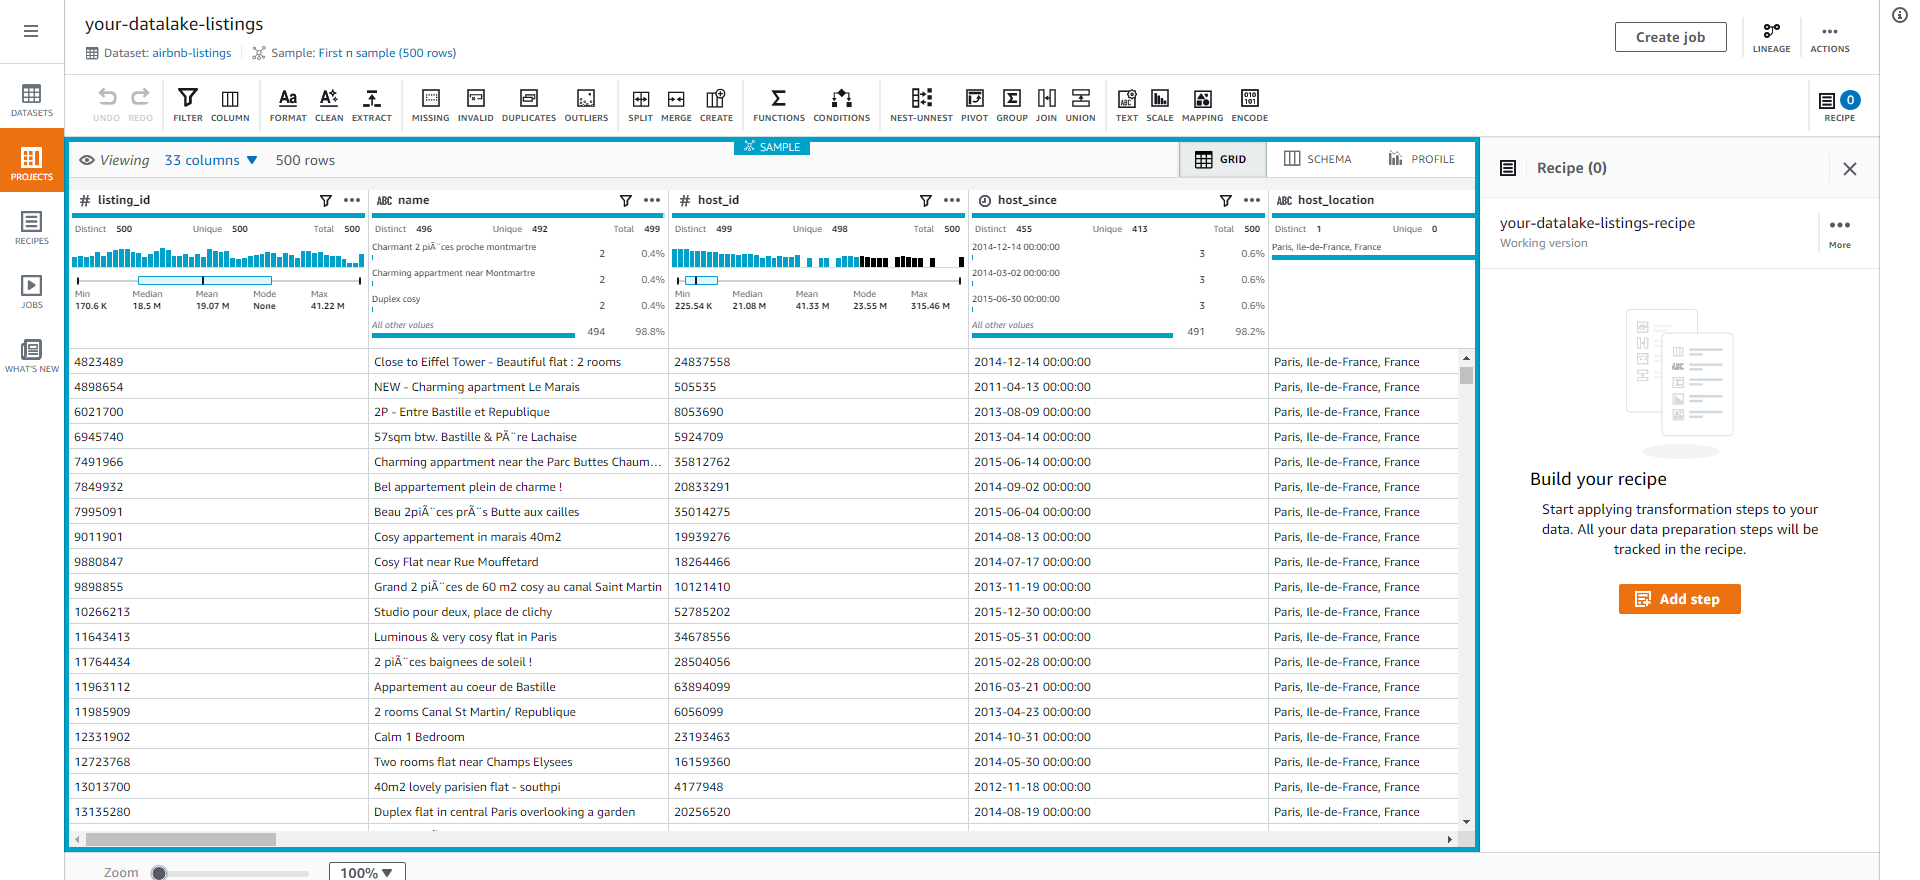
Next, we will create a data profile to generate statistical information for our dataset.