Creating a Cloud9 Instance
Creating a Cloud9 Instance
-
Access the Cloud9 management interface.
- Click Create environment.
-
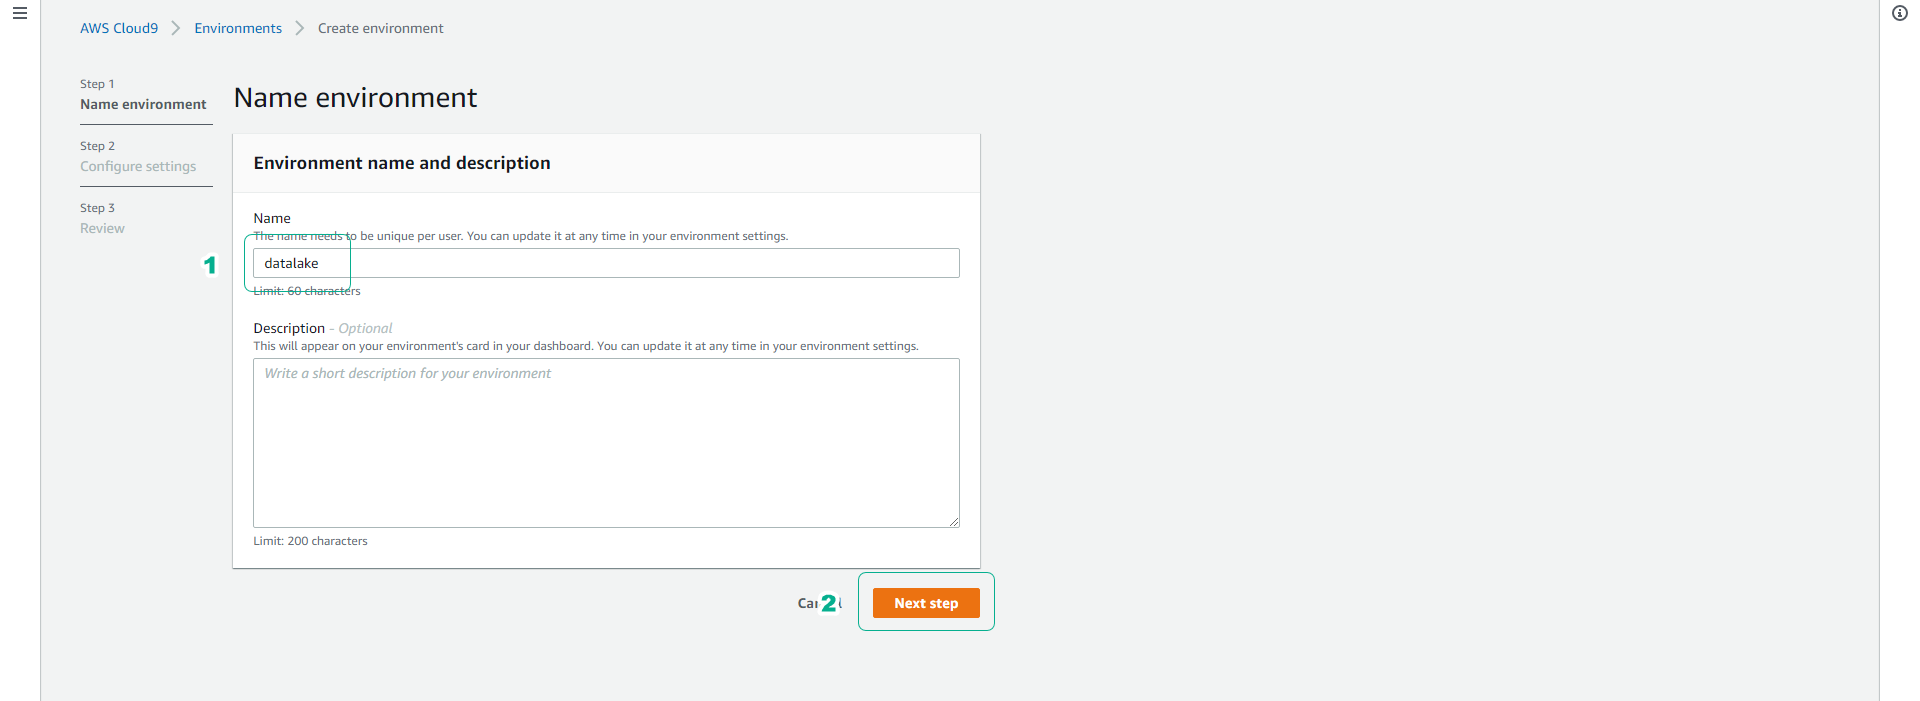
Name the cloud9 instance datalake.
- Click Next step.
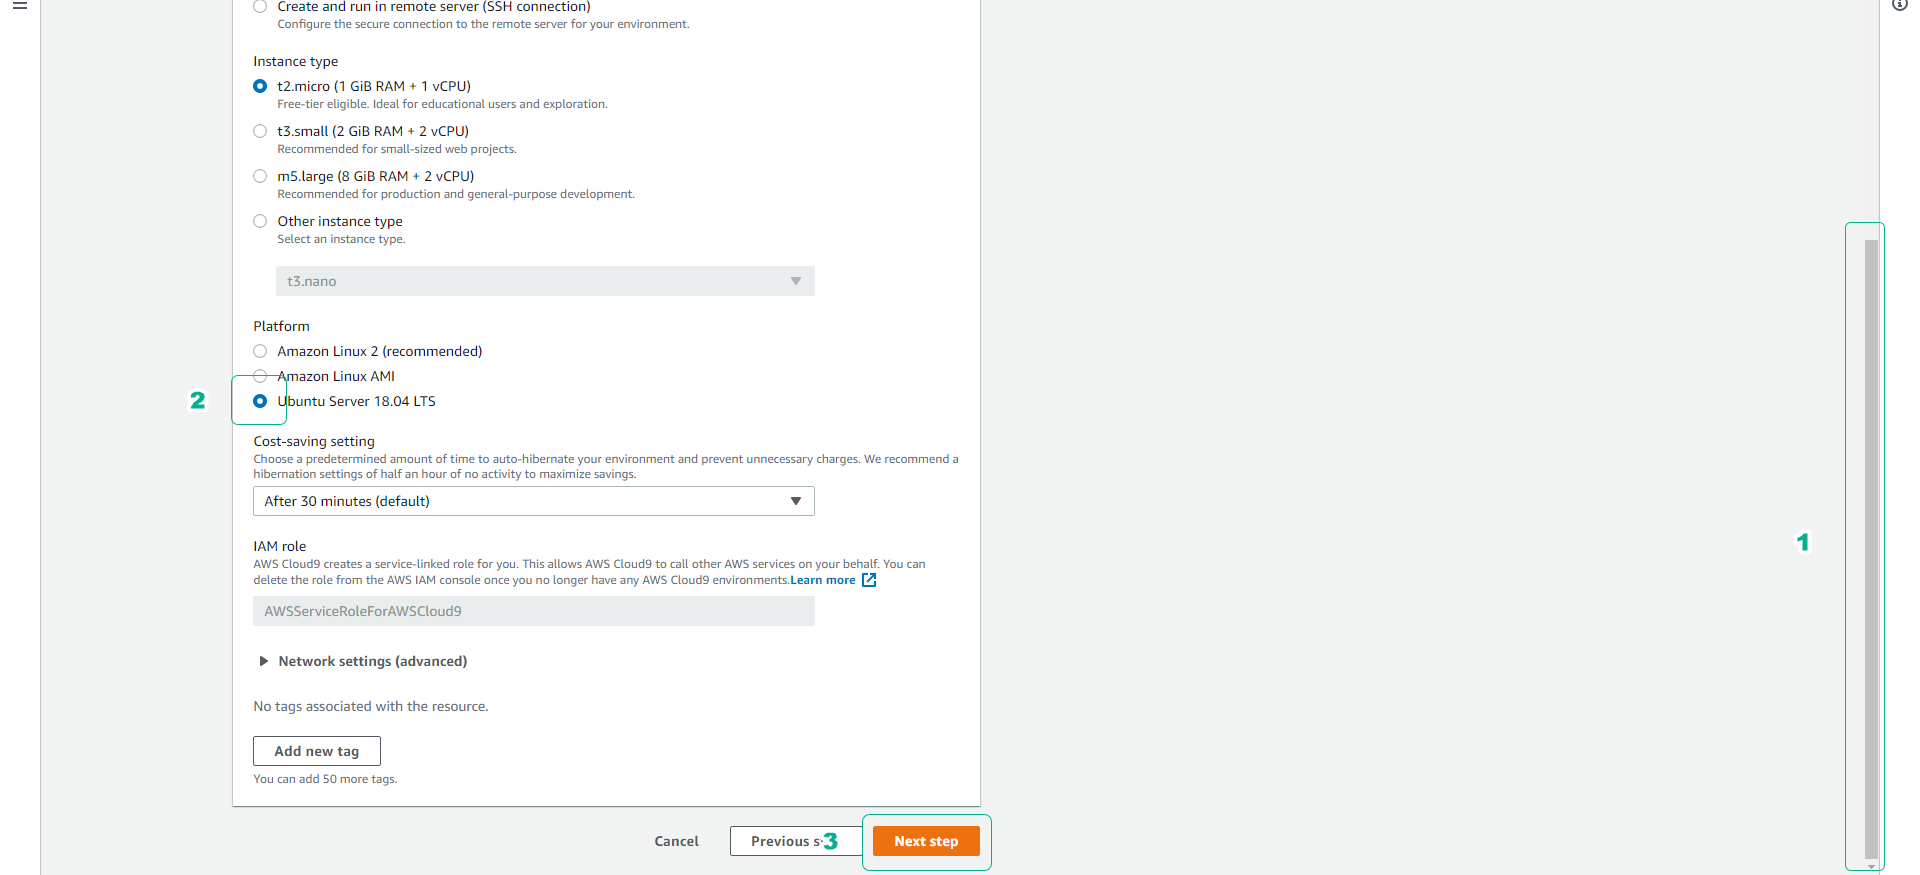
- Scroll down the screen.
- Select Ubuntu Server 18.04 LTS.
- Click Next step.
-
Click Create environment.
-
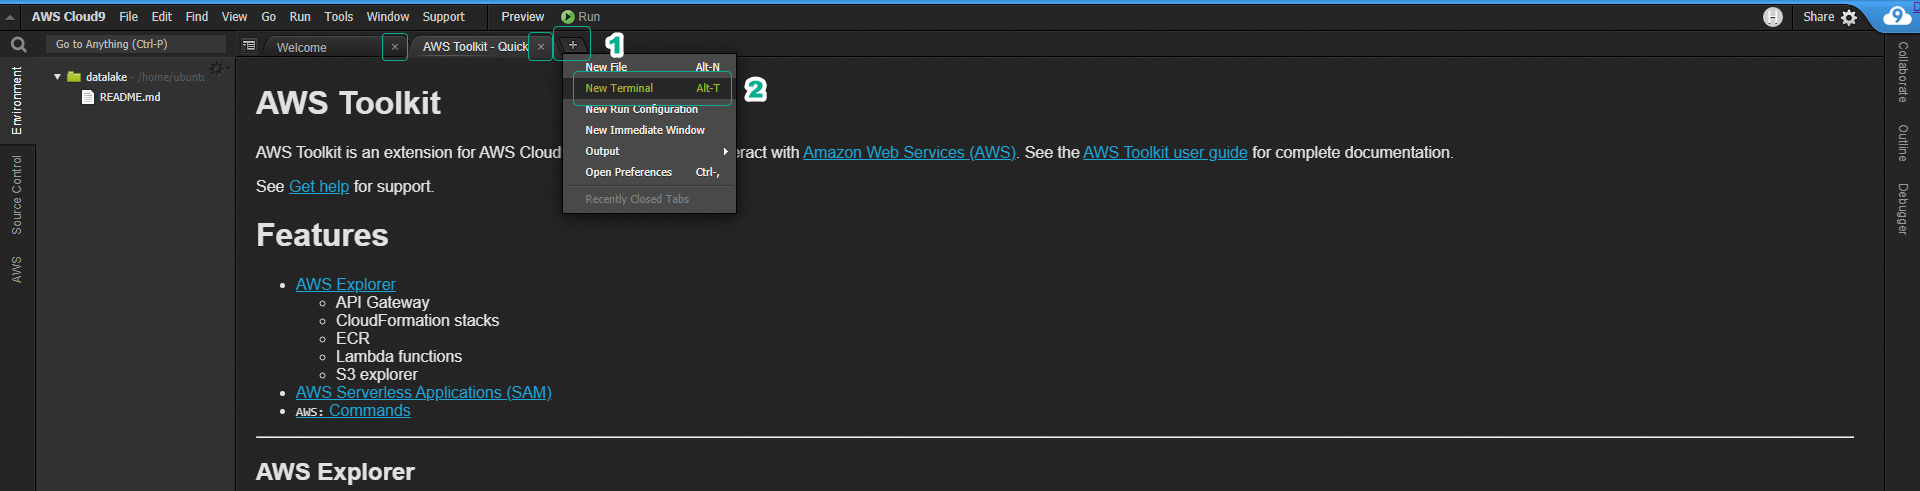
After Cloud9 initializes.
- Click the + icon.
- Click New Terminal to create a new command line terminal.
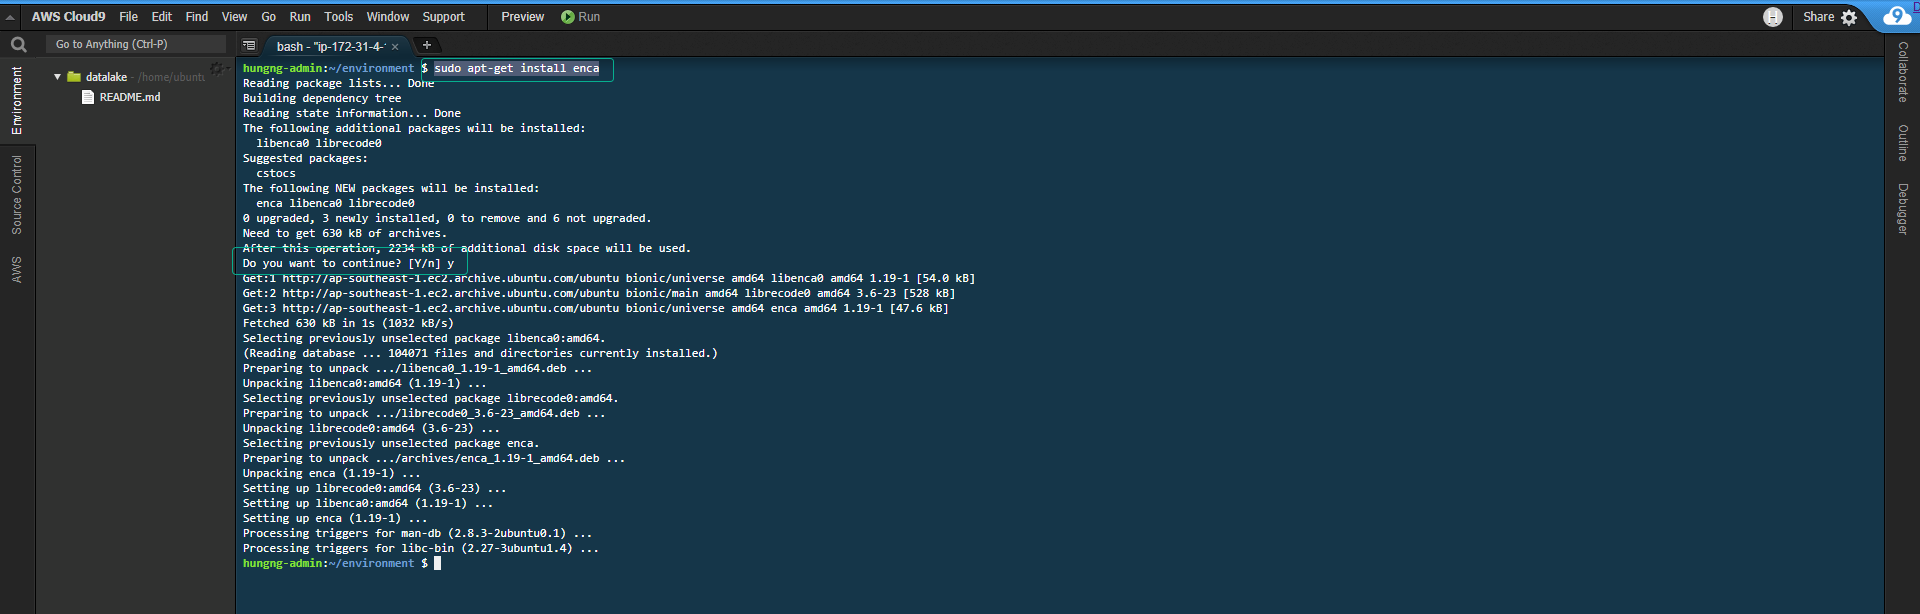
- Run the following command to install enca
sudo apt-get install enca